
Make Free Reference Photos Look Unique

In my recent live stream, for the Mini Paint Challenge, I got talking about using free reference photos for painting. I touched on how you can jazz up a reference photo to be more unique so you're not just copying exactly from an image and the vision the photographer had.
Sometimes it's not always feasible to get the photos we want with our own camera so I totally understand. I use free or paid photos all the time for my own projects. Like maybe we have a vision and don't own the object. Sure we could buy it but as a minimalist myself that seems very wasteful if we only need it to take a photo.
I put together 5 things below that you can do to edit your free references to be more unique.
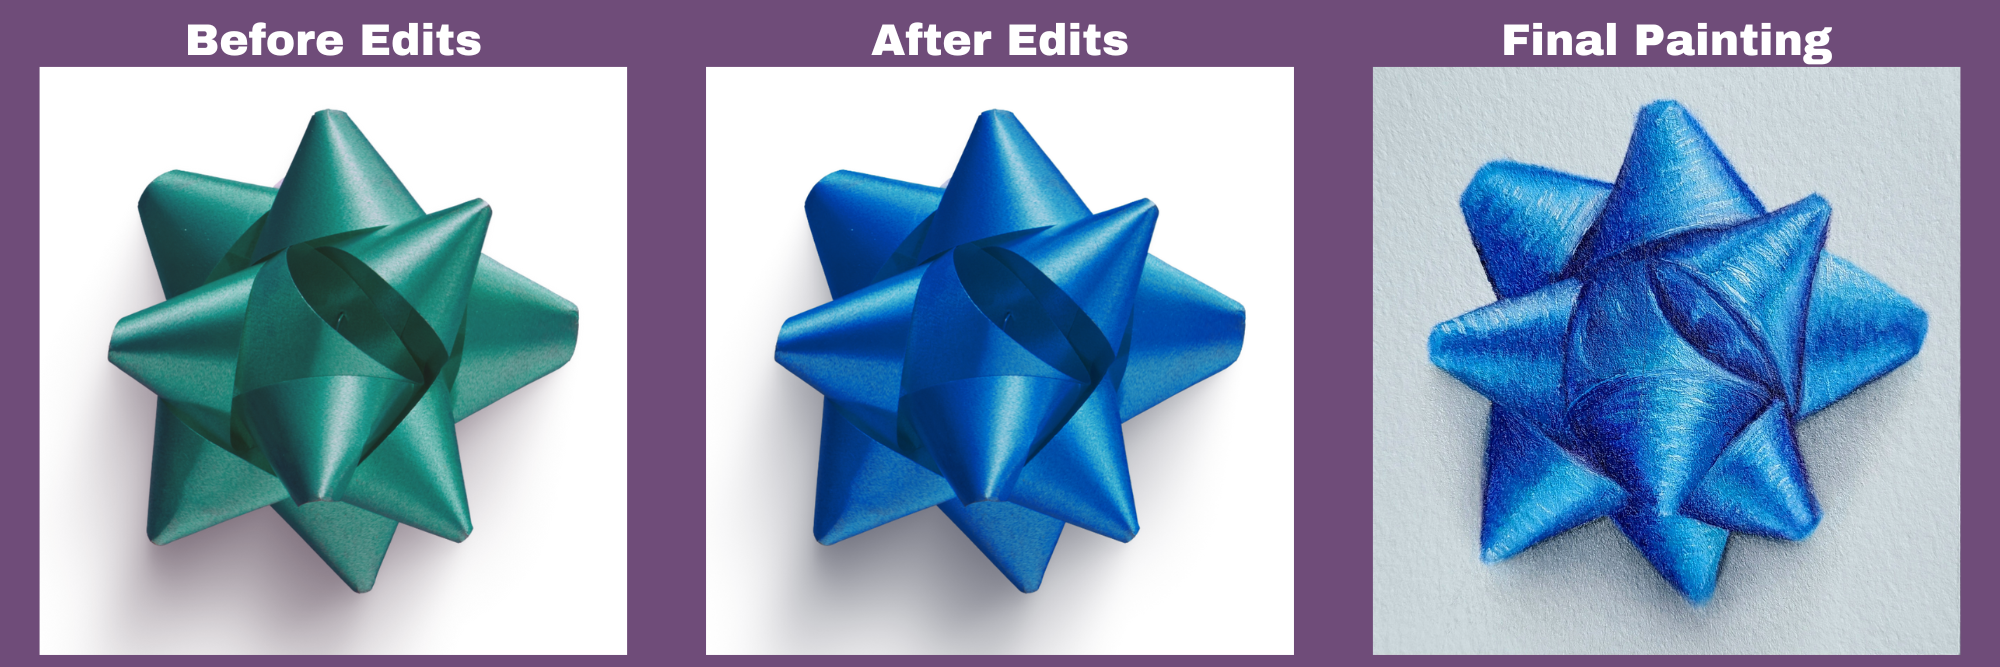
- Change The Colours: Photoshop and a lot of other free editors have a selective colour editing tool. This enables you to pick a colour in the image and isolate it while you shift the colours. There's certain colours I dislike using so this is great if you want your colour palette to be a certain way.
- Add An Object: I love mashing 2 references together or drawing in something extra that wasn't in the original photo. This can help balance a composition or just help change the vibe completely.
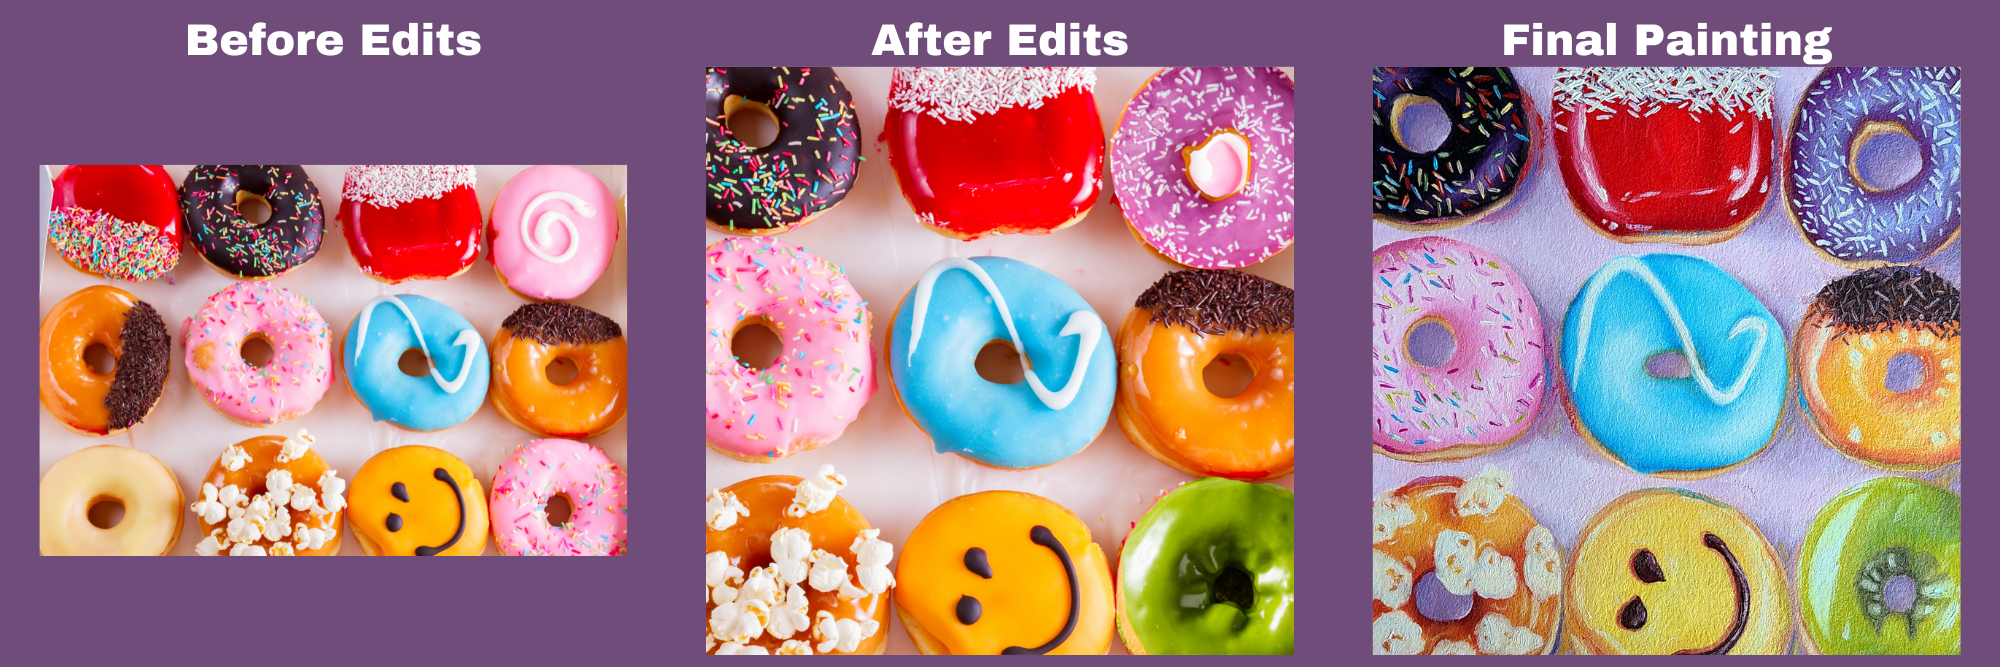
- Remove An Object: The opposite is to remove something you dislike in the reference. The amount of times I find a photo where the composition is a bit off but the rest is perfect happens all the time. Take my recent donut painting in the photo below. I saw these bright donuts and decided it needed a few extra flavours so I Photoshopped some new flavours in the bunch to balance things out.
- Crop The Image: A simple crop and resizing of an image can do wonders! I love square compositions personally but the photos I find tend to be in all different ratios. When I play around with cropping it changes the way the image is viewed by your audience. Sometimes cropping also makes me reconsider using an image I found too so don't forget to try this step out before you start painting. Planning is a crucial part to the painting process.
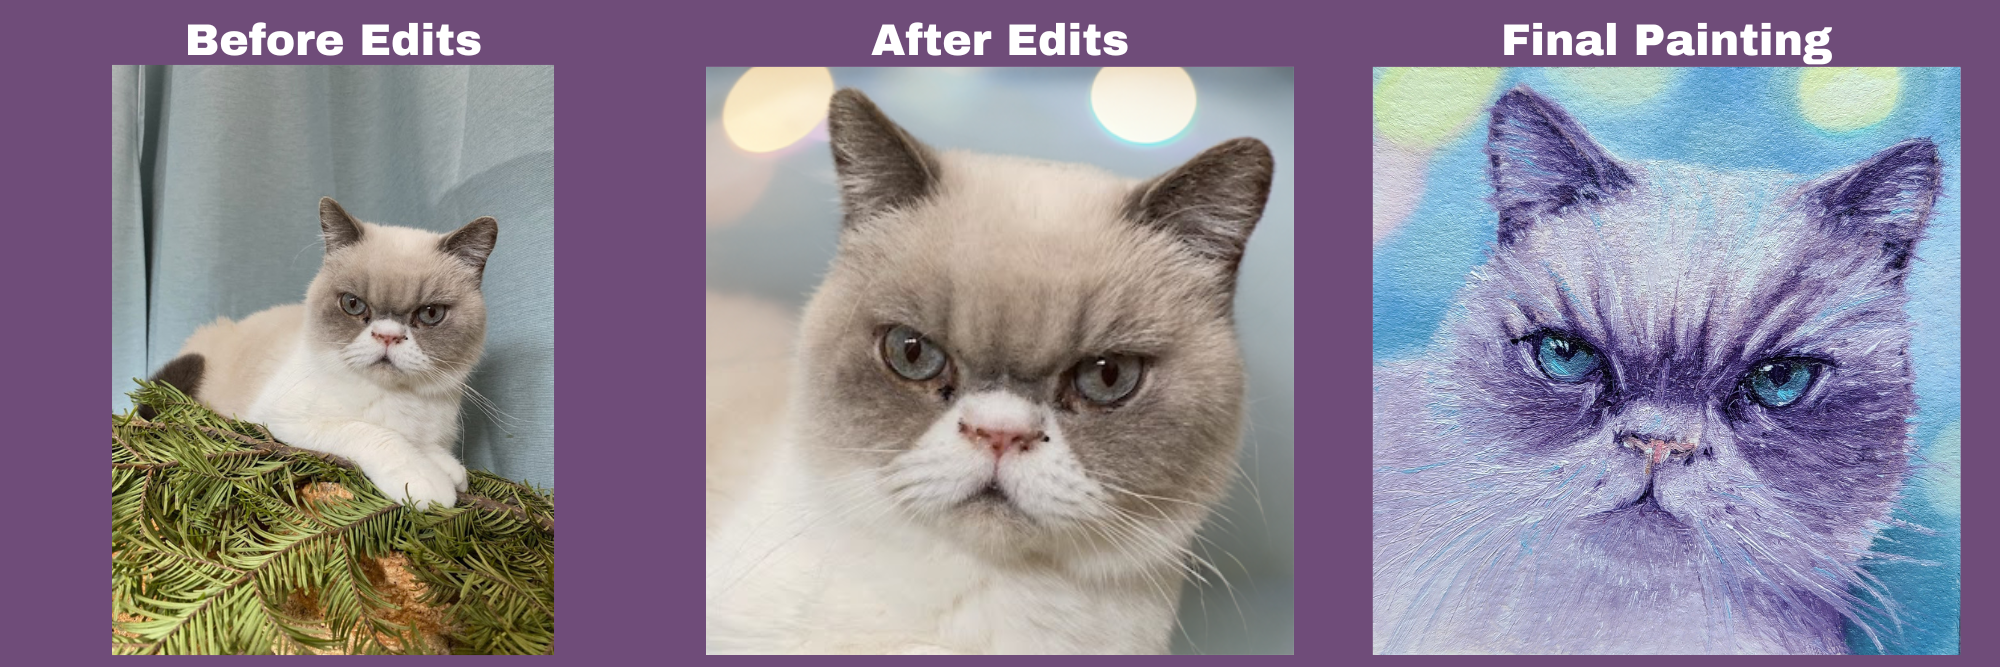
- Play With Lighting And Shadows: Another fun thing I enjoy doing is changing the colour of a shadow. I don't always like making the shadow gray and boring so I'll through in a little purple shadow here and there. You could also change the direction the shadow/light is hitting the object or completely remove the shadow altogether. I tend to remove shadows when I'm trying to make a sticker out of the finished piece.
I put together a few before and after edits I did with some of my paintings this year. I also added a little look of the final painting too because I like to add things spontaneously while painting.
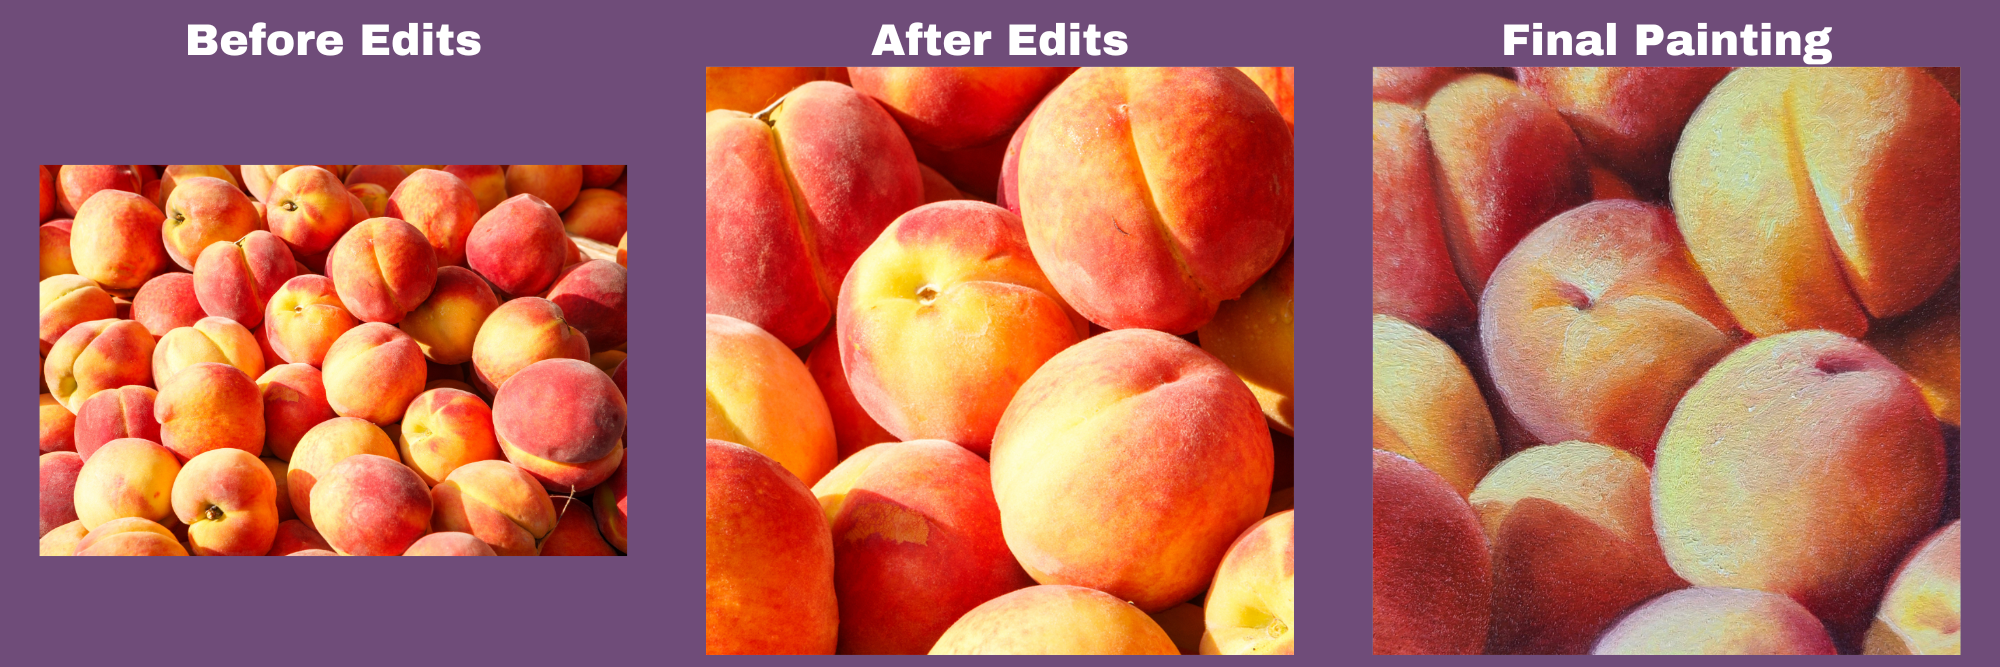
There's also a few extra painting tips in the live stream paint lesson too if you want more ideas. Hope these tips help you create more unique art that goes along with your artistic vision.
Member discussion