
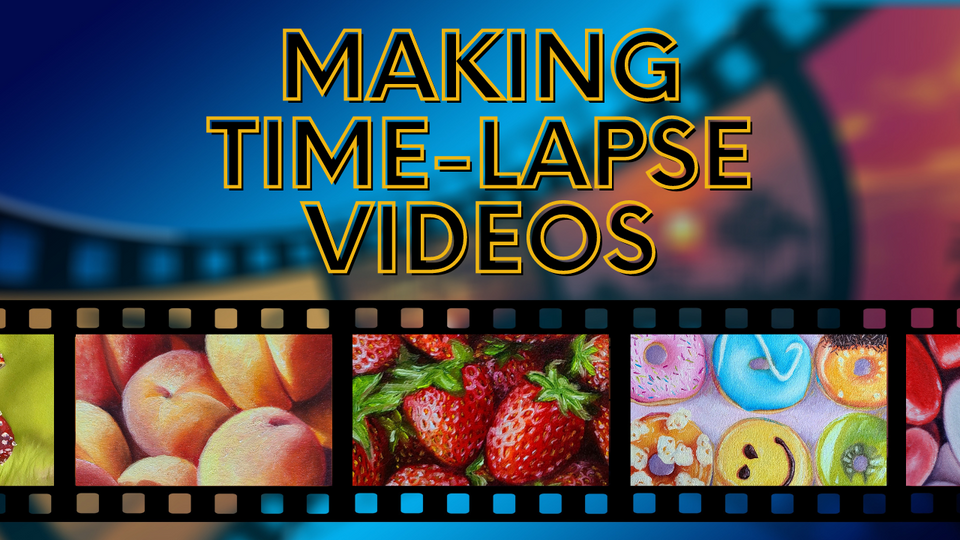
How To Create High Quality Time Lapse Videos
In order to make a high quality time-lapse video I spent the last year learning and experimenting with a bunch of gear and software features. Here's a quick list of the things I use to make my time-lapse videos. I did the information digging so you don't have to!
Camera with Interval Shooting:
A camera with interval shooting capability is designed to capture a series of images at predetermined intervals. This helps you take a photo automatically every 1, 2, 3… seconds to create a video with these frames/ shots. I personally use Sony’s a6400 mirrorless camera. It’s one of the more affordable cameras on the market that shoots in 4k.
I'm talking about this because a lot of people use the build in "time-lapse or hyper-lapse" feature built into their phones. A good quality camera will enable you to do so much more in post-production so consider switching if your budget allows.
Big Memory Card:
When you’re taking thousands of 4k quality photos you need tons of space. Before I invested in a big card I’d have to stop halfway through shooting to transfer my files. It makes your workflow so much smoother. Lets you keep working for hours at a time and keeps you from messing up your shot by messing up the camera position. I find that a 256GB card works great for my paintings but you definitely can go bigger if you do larger works of art.
Dummy Battery:
Dummy batteries, also known as fake or dummy cells, are non-functional battery-shaped objects designed to fit into the battery compartment of your camera. They are great for bringing continuous power to your camera without relying on traditional batteries. This is another great workflow tool. The amount of times a battery has died in the middle of filming is crazy. It’s one of the first things I invested in.
Lighting with DC Power:
Okay, so hear me out on this one! It’s worth the read.
Flicker can be an issue when using artificial lighting sources. Flicker refers to the fluctuation in brightness that can occur due to variations in the power supply frequency. This is caused by the alternating current (AC) power used to drive many traditional light sources (that’s the power that comes out of the plug sockets in our homes).
The flicker may not be noticeable to the naked eye, but it can become apparent in the individual frames of a time-lapse sequence. This flicker then creates an unwanted and distracting flickering effect. Unlike AC, which oscillates between positive and negative voltages, DC provides a more stable and constant power supply. This stability is crucial for preventing the variations in light output that can lead to flicker.
I personally bought the Neewer 2 Pieces Bi-color 660 LED Video Light and Stand Kit. It has an AC to DC converter box built into the power cable. I haven’t had a problem with flicker since I got them.
Tripod with Horizontal Arm:
Are you tired of your camera and tripod legs getting in the way? While I've got a solution for you! Haha But seriously just get yourself a nice tripod with a horizontal arm. It will save you so much time and headache while filming. With time-lapse video if you move the camera by bumping it you’ll mess up your shots and it’s just annoying to fix in post-production. I use the K&F Concept 238cm Overhead Tripod Monopod with Horizontal Rotatable Center Column Arm.
A Professional Editing Software:
Now this one is a time & money investment but it steps up your time-lapse game so much! I personally started out with the free version with Davinci Resolve but ended up going with the paid version for all the effects and raw colour grading features.
The first feature which makes it worth your money is the Deflicker!! Deflicker helps to take out any leftover flicker in your shots from any lighting you can’t control. Especially when shooting outside without the studio lights.
The next feature is the raw file colour grading. I can convert all my raw camera photographs into a DNG file and then in the “import section” of the studio bring them all in as a pre-set video frame rate! Then in the colour grading section you can adjust everything all in one go. No need to edit each individual file. All you need to do is play around with the sliders for things like saturation, contrast, brightness to get the desired look you want.
I really hope this helps you. It's the type of info I would have loved to have when first starting out. Send this blog link to anyone you think might need it.

Member discussion